DIY: Easy Date Banner!
Supplies:
-Sharpie
-Burlap
-Hot glue gun
-Twine
Steps:
1. Pick a font you want to use for the numbers on your banner. I chose a free font: "
Return to Sender." Then, print out each number you need as large as you can on 8 1/2 x 11 paper. You will use these as templates to trace unto your burlap. If you want a heart like ours, draw a heart you like on a piece of paper :).
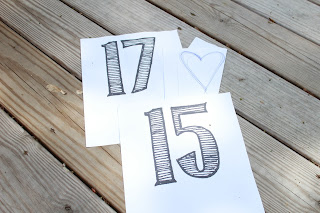 |
| We used a font size of 600 for our numbers. |
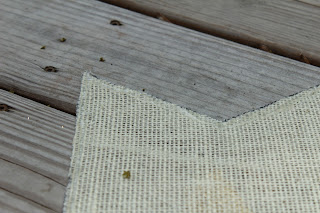
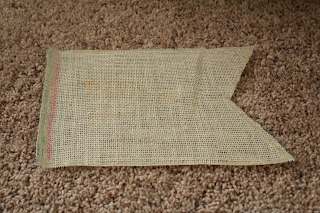
2. Make a template of the pennant you would like. I used plain 8 1/2 x 11 paper. Using the template, trace the pendant onto your burlap. Next, Cut out your burlap.
3. Trace your numbers onto your banner. Fill in the numbers with black sharpie. I did many coats on both the front and the back of the burlap to allow the black to be as dark as possible.
4. Trace your hearts onto your pennants. Fill the hearts in with glue and glitter that puppy!
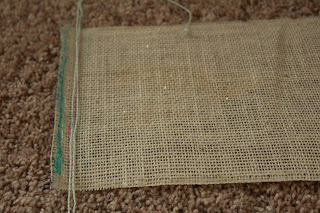
5. Once my maker and glue dried, I flipped each of my pennants over used a hot glue gun to go along the edge of each pennant. This keeps the burlap from fraying.
 |
| Hot glue edges of pennant. |
6. I braided blue and gold twine together to make a thick long heavier duty mini rope. Then I hot glued each pennant to my "mini rope" to make the banner. This was the thickest part of the assembly, so I'm going to let pictures do the talking :).
 |
| Hot glue along your banner where I have marked pink. |
 |
Lay your "mini rope" along the glue.
Hot glue where I have marked blue.
*Note*: this is not my real "mini rope" |
 |
| Fold blue onto pink and press firmly. |
Tada! Super simple and adorable. We used our banner in our engagement pictures and plan to use it at our wedding, too!


